Clearing 2025 is now open
Find out more about clearing or call our friendly Admissions Team on +44 (0) 1603 751 485.
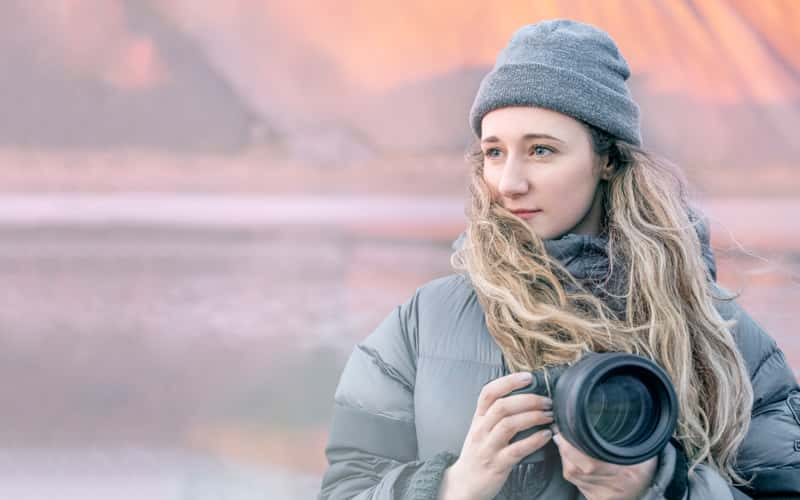
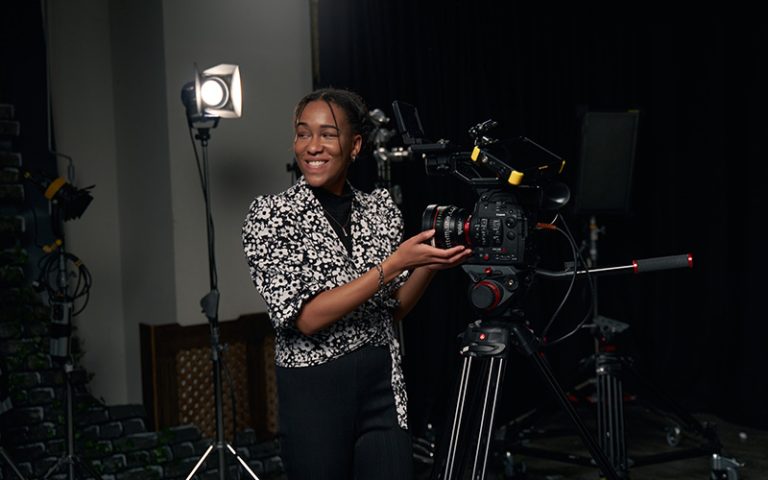
Cat Gundry-Beck
Photographing the night sky is unlike anything else. Picture crouching underneath the stars, fiddling with your camera in the dark, breathing in the cold, fresh air of the evening.
After a few tries, you get the exposure you were hoping for and gaze in awe at the back of the camera as it shows you details that are invisible to the naked eye.
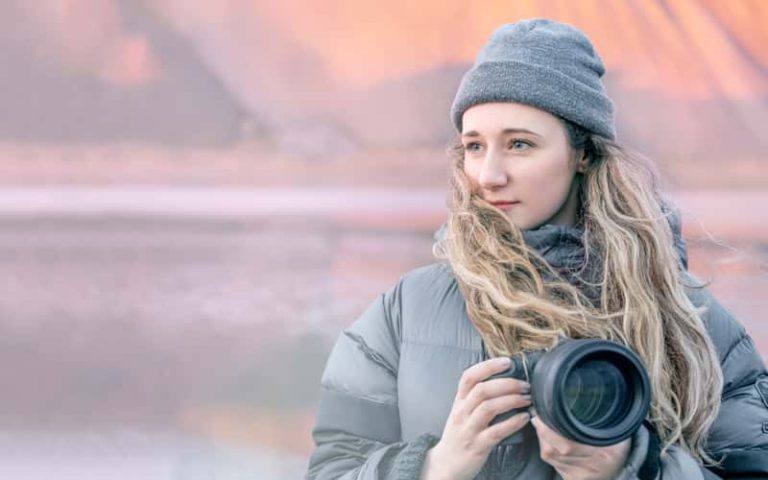
Astrophotography is quite a specific genre that I didn’t know much about before moving up to the arctic circle. 18 months after I’d graduated from BA (Hons) Photography at NUA, I decided to move to Tromsø in Norway.
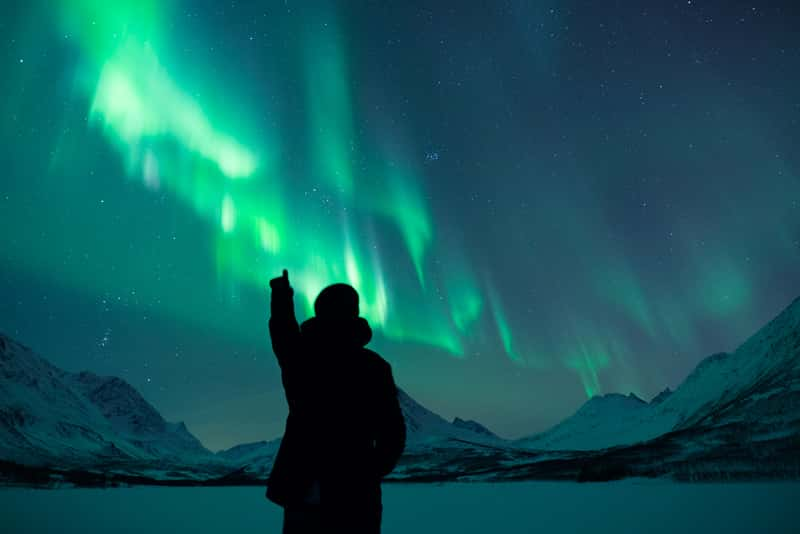
My job was to take people out to see the northern lights, build a campfire and show them how to photograph the aurora and the night sky. When I first heard about it, I thought, ‘this can’t be a real job, it sounds way too fun’ – but I can assure you, it is a real job, and it is as fun as it sounds!

Cat Gundry-Beck
When photographing the night sky and northern lights, it’s useful to become familiar with the settings before going outside as it can be more challenging in the cold and darkness.
Lenses: Use a wide-angle lens, for example, an 11-16mm lens, a 10-22mm lens, a 17-40mm lens or a 28mm prime lens.
Tripod: A tripod is essential for photographing in low light, as any movement in the camera during the exposure would create blur.
Shutter timer: Select a 2-second timer, as pressing the shutter can cause a bit of camera shake. You can also use a remote shutter if you have one.
Shutter speed: You want to use a long exposure to take in a lot of detail, so between 5 and 20 seconds is good.
Aperture: Bring the aperture to as wide (lowest number) as possible. F2.8 works great.
White balance: Adjust this manually to around 3500k and shoot in raw so you can edit the colours well afterwards.
ISO: Each camera has different ISO capabilities – a high ISO will create grain in the image. Depending on the camera, keep it between 1000 ISO and 6400 ISO.
Focusing: Put the camera in manual focus mode. Focus on a streetlight far away and leave the focus ring the same. Always zoom in on your shots after taking them to check focus and adjust if needed.

Cat Gundry-Beck
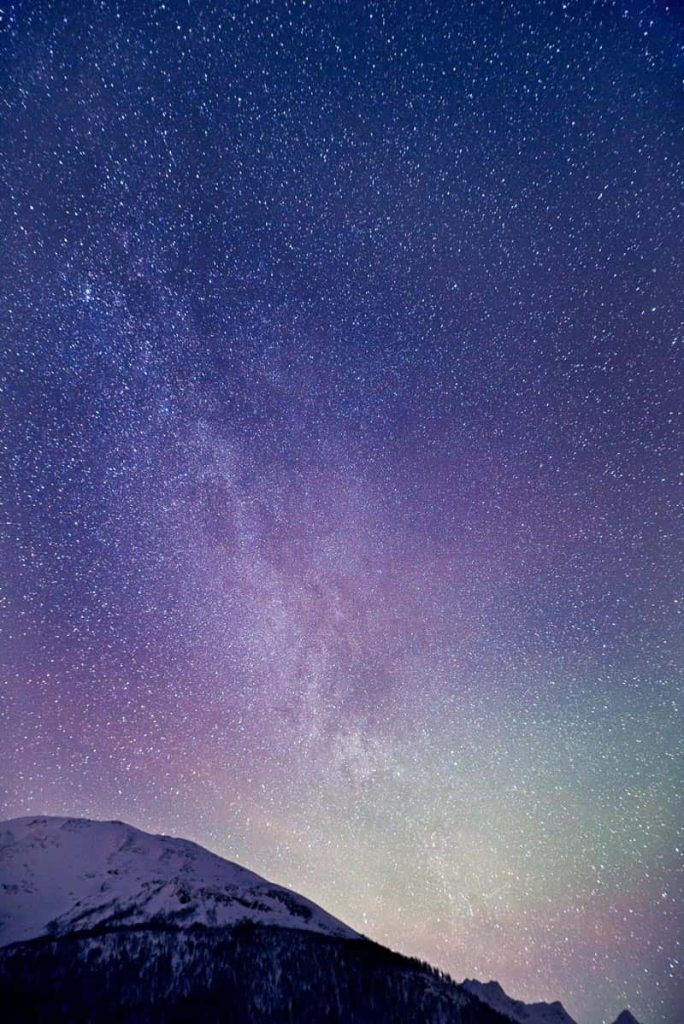
It might take a while to practise these settings before you get something you’re happy with; remember to have fun with it! These settings work both for capturing starry skies and aurora.
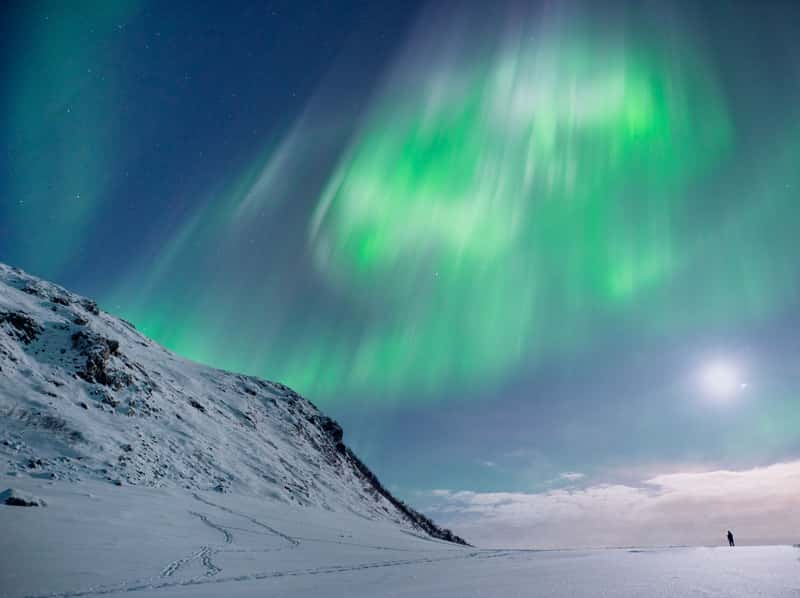
The moon also plays a big part in photographing at night – when it’s full, it can light up the landscape a lot more, which can look great for the foreground. When the moon hasn’t risen or is a crescent moon, more stars are visible, and the landscape will be more of a silhouette.
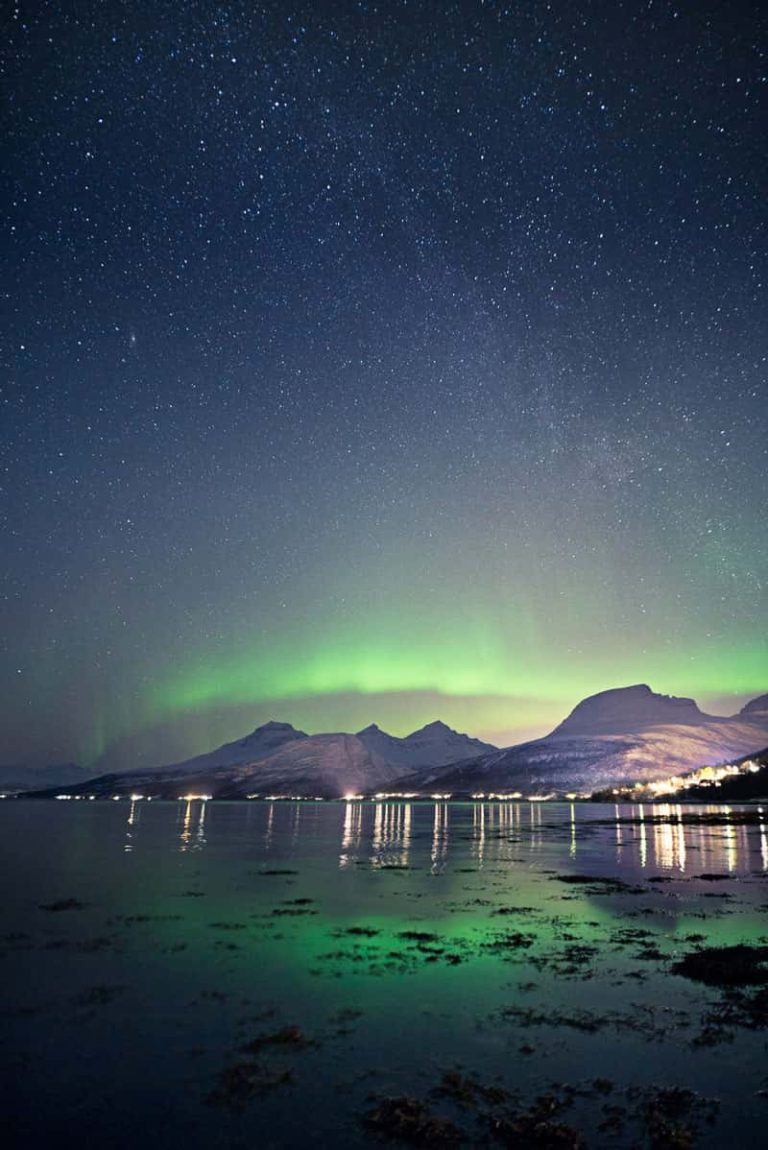
The aurora borealis is one of the most beautiful things I have ever seen. When travelling to a place to see them, I’d recommend trying to go there for a week as they don’t come out every night. You need a combination of clear skies, and good aurora activity.
The sky can go from zero to incredible in just a few seconds, so once you find clear skies, you need to wait and see what happens. They can be very unpredictable; even the predictions can be completely wrong, so it’s a game of patience. Keep taking photos to check the sky. Sometimes you can see the lights in the camera before seeing them with your eyes.
When the lights do show up, it’s so exciting to run to your camera and photograph as quick as you can as the northern lights may stay out a few minutes or a few hours; we never know!

Cat Gundry-Beck
KP is the measurement of how far south the aurora oval stretches. When the KP is 7 or higher, the northern lights can be seen from Norfolk on a clear night!
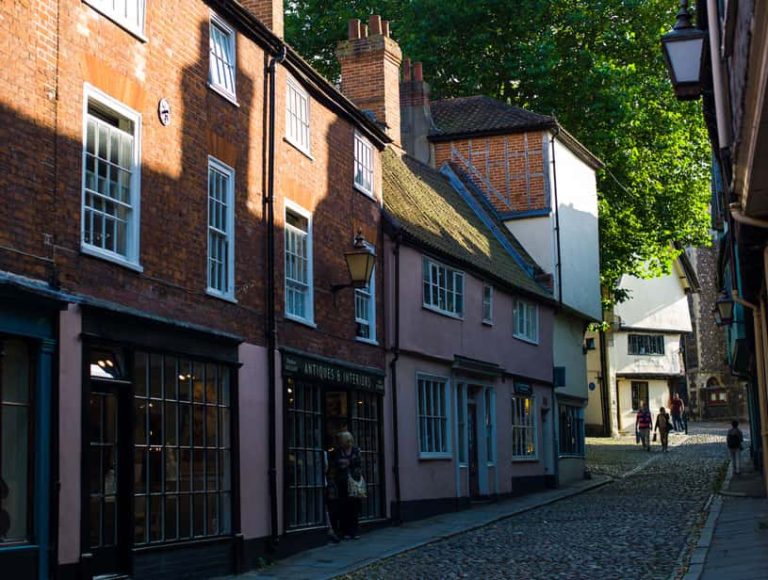
I’d recommend going anywhere with a clear view north that doesn’t have light pollution (a town or city) nearby. Going to a coastline facing north would be best, near Sheringham or Blakeney.
If you’d like to stay closer to Norwich, I recommend somewhere like Buxton Heath. These places would also be great for night sky photography without northern lights.
Cat Gundry-Beck
One of my favourite experiences shooting the northern lights in Norway was a night when we had clear skies but no lights.
I was teaching a group of about 10 people, and we were out for hours waiting. We drove to a few different locations to get photos of the stars with diverse backgrounds.
The whole group were from all over the world and shared stories and got to know each other. I heard about life as a wedding photographer in Utah, USA, and told stories of being a local police officer in Costa Rica.
After midnight, the group was beginning to lose hope, but suddenly, the sky exploded in bright greens, whites, and pinks. The lights swirled quickly above us; they were so bright that we had to bring our exposures down to 2 seconds. Everyone felt so much joy. The wait had only made the experience more exciting!
When going out to shoot at night, it’s best to go out in a small group and not alone – not only for safety but also for the fun of it! Take a flask of hot chocolate or tea & some blankets and make a night of it. It can be challenging and take some time, but the rewards of photographing the night sky or northern lights are huge!
Explore BA (Hons) Photography